If you’re considering a DIY camper bathroom remodel, you’re in for a rewarding challenge. You’ll need to assess your current space, set a budget, and choose durable materials that can withstand life on the road. Planning your layout is essential for maximizing functionality. But before you start tearing things apart, there are important steps to guarantee a smooth transformation. Let’s explore how to make your camper bathroom both stylish and practical.
Key Takeaways
- Assess your current bathroom layout and establish a budget for materials and labor before starting the remodel.
- Carefully demolish existing fixtures and inspect plumbing and electrical systems for any necessary repairs.
- Install new plumbing fixtures and storage solutions, focusing on water-resistant materials and compliance with safety regulations.
- Use moisture-resistant paint and LED lighting to enhance aesthetics and energy efficiency in your new bathroom.
- Regularly maintain your remodel by checking for leaks, cleaning surfaces, and ensuring proper ventilation to prevent mold.
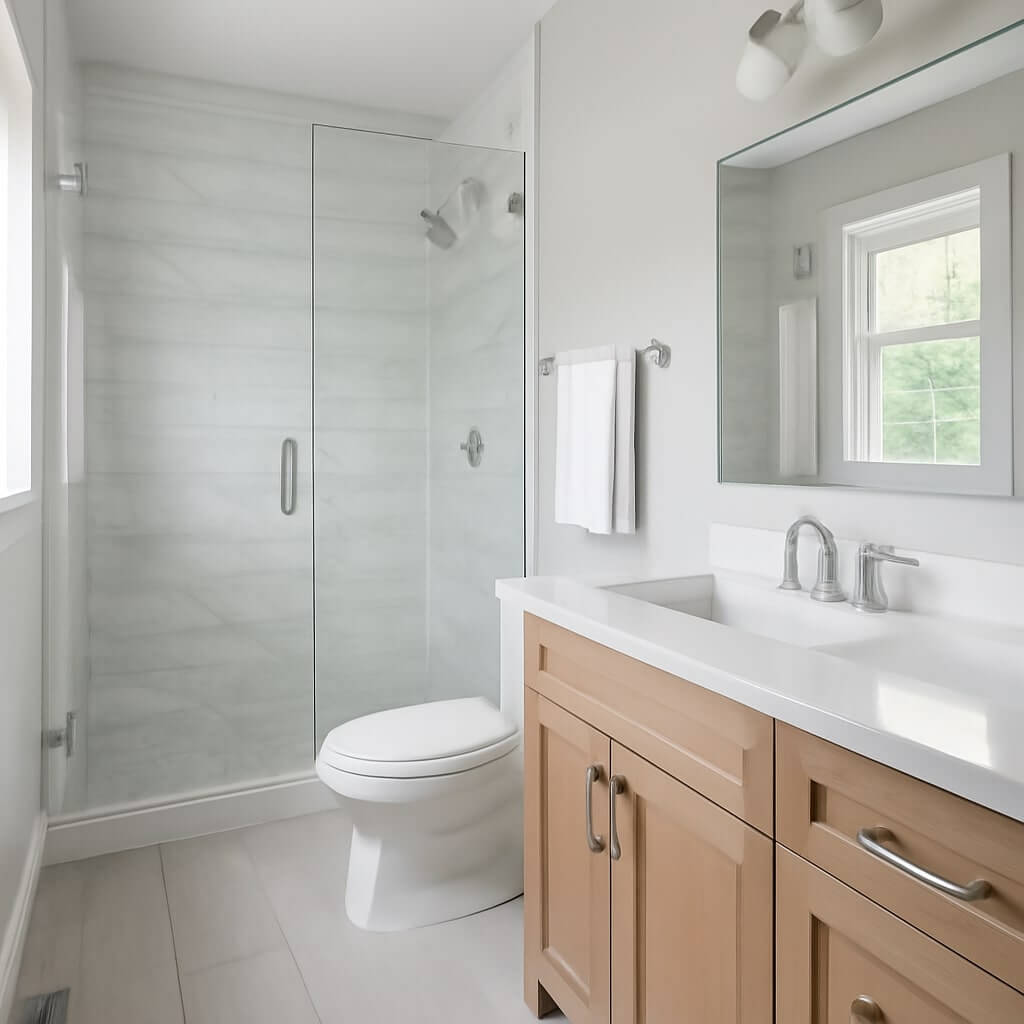
Assessing Your Current Bathroom Space
Before diving into your camper bathroom remodel, it’s crucial to assess your current bathroom space to identify what works and what doesn’t.
Take a good look at your layout and think about space utilization. Are there areas that feel cramped or inefficient?
Evaluate your layout carefully to identify any cramped or inefficient areas that could benefit from a fresh approach.
Consider different bathroom styles that could enhance your space—maybe you prefer a sleek, modern look or a cozy, rustic vibe.
Make notes on fixtures, storage solutions, and overall design elements that inspire you.
This assessment will help you create a practical plan that maximizes functionality while reflecting your personal taste, making your remodel both enjoyable and efficient.
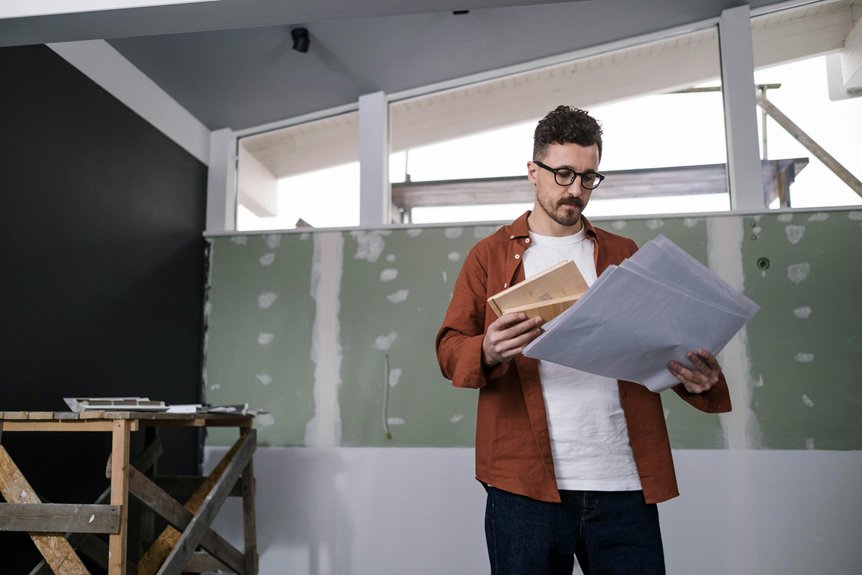
Setting a Budget for Your Remodel
Before you start your camper bathroom remodel, it’s vital to set a realistic budget.
Begin by determining your total expenses, including materials and labor, then prioritize the essential upgrades that will make the biggest impact.
This way, you’ll make certain your project stays on track financially while still achieving the results you want.
Determine Total Expenses
Determining your total expenses is a crucial step in setting a realistic budget for your DIY camper bathroom remodel. You’ll want a clear cost breakdown to keep your project on track. Start by listing all materials, labor, and any unexpected costs you might encounter. Use expense tracking methods to monitor your spending as you go.
Here’s a simple table to help you outline your expenses:
| Item | Estimated Cost | Actual Cost |
|---|---|---|
| Materials | $300 | $ |
| Labor | $200 | $ |
| Fixtures | $150 | $ |
| Miscellaneous | $50 | $ |
This approach guarantees you’re fully prepared!
Prioritize Essential Upgrades
Once you’ve got a handle on your expenses, it’s time to focus on what upgrades will make the biggest impact in your camper bathroom.
Start by identifying essential upgrades that enhance functionality and comfort. Prioritize features like a new toilet, updated faucets, or improved lighting, as these can transform your space considerably.
Consider your daily needs and how each upgrade will improve your experience. Set a realistic budget for these priority features, ensuring you allocate enough for quality materials.
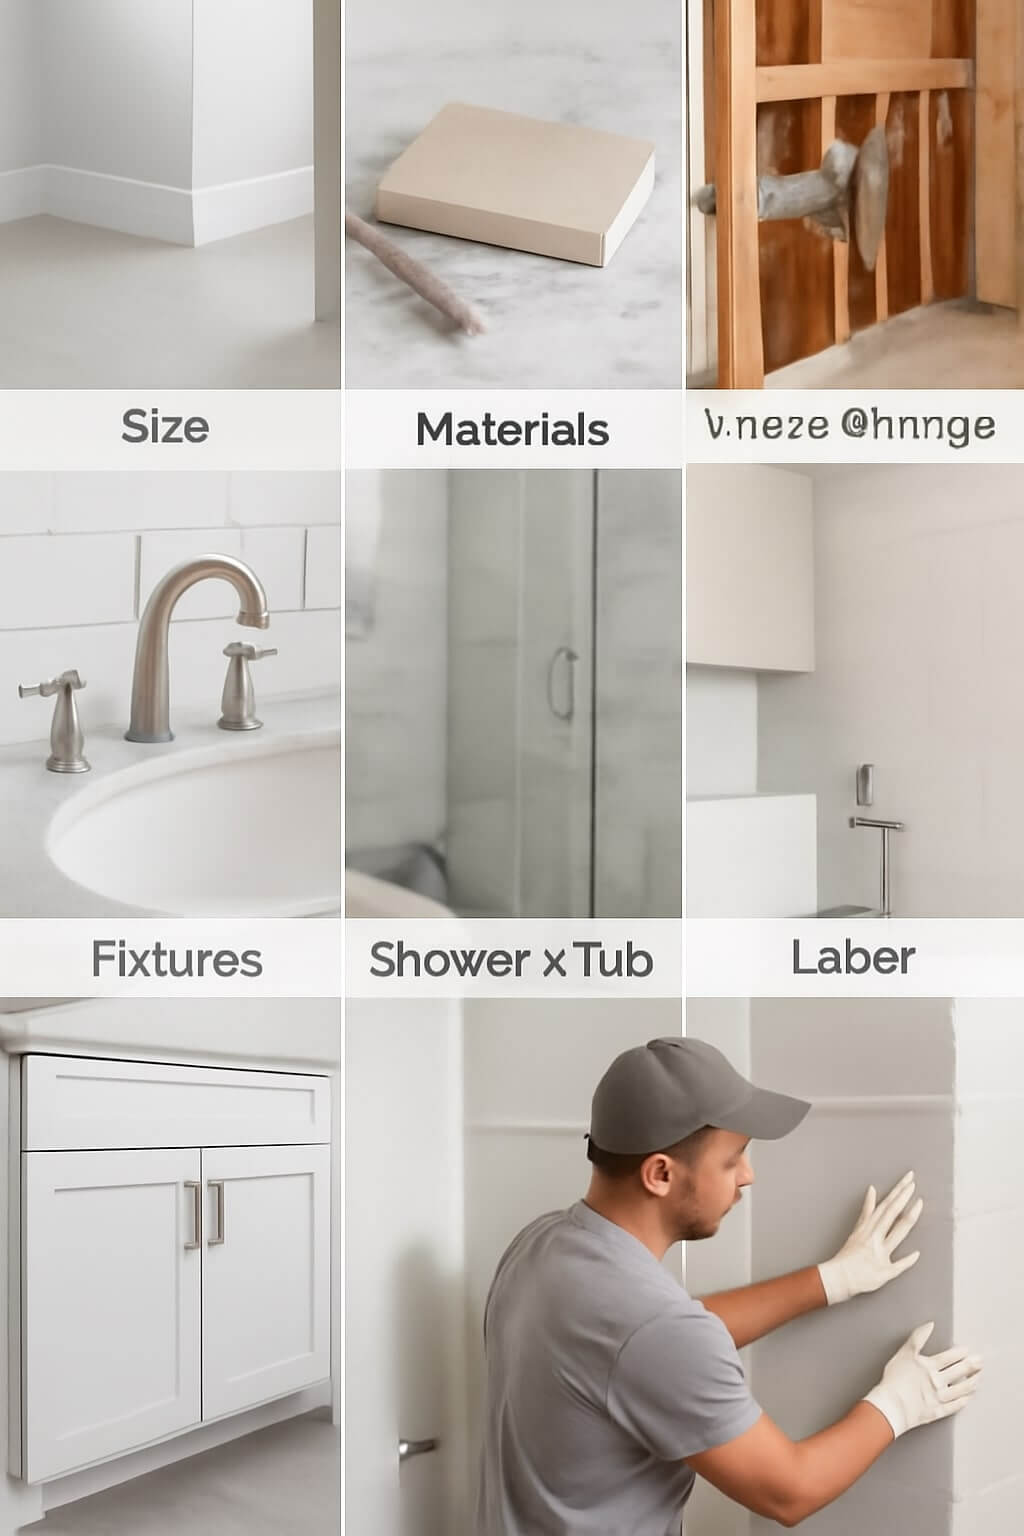
Choosing the Right Materials
When you’re planning your DIY camper bathroom remodel, selecting the right materials is essential for both functionality and aesthetics.
Start by evaluating material durability; you’ll want options that withstand moisture and wear, like fiberglass or marine-grade plywood.
Next, consider a cost comparison between various materials. While higher-end options may offer better longevity, budget-friendly choices can still provide decent durability if maintained well.
Don’t forget about lightweight materials to keep your camper’s weight down.
Prioritize easy-to-clean surfaces, and remember that attractive, functional materials can enhance your space while fitting your budget.
Choose wisely, and you’ll create a bathroom you’ll love!
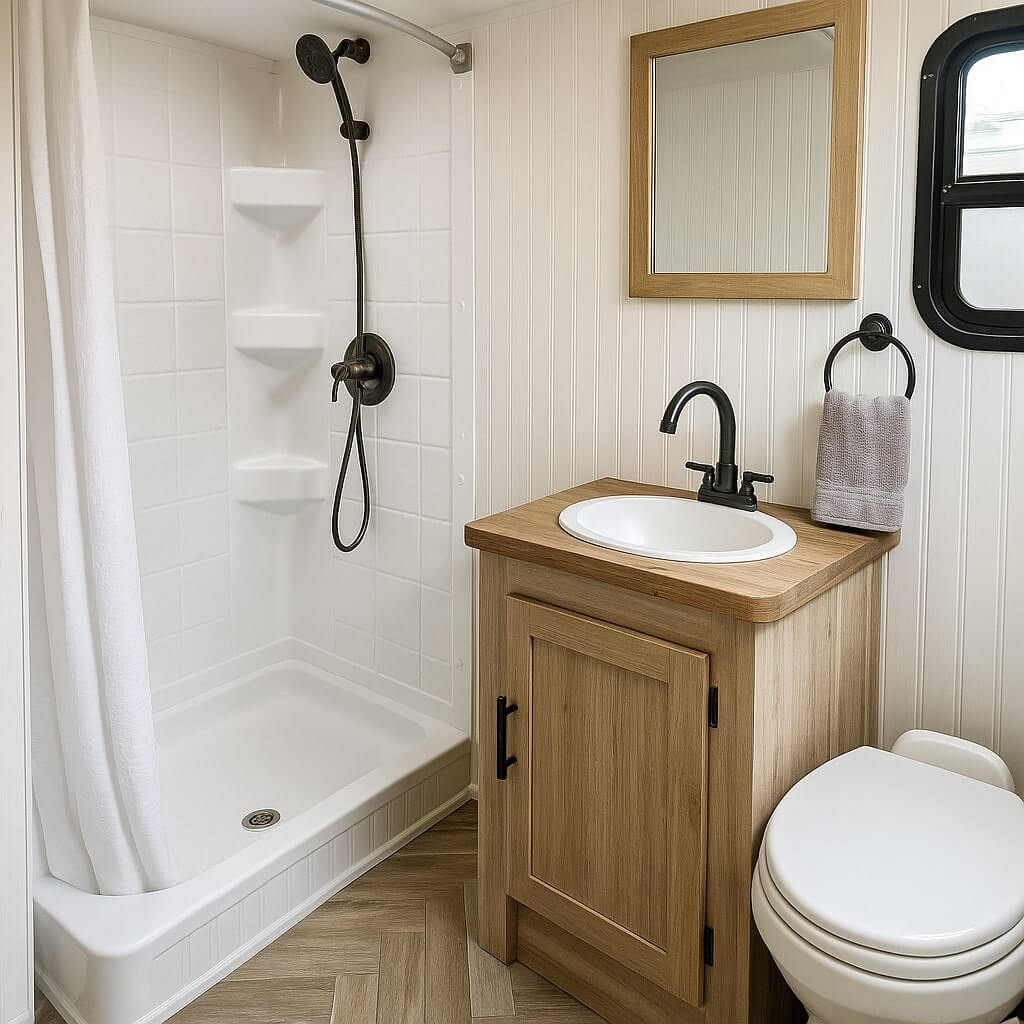
Planning Your Layout and Design
Creating a functional and inviting layout for your camper bathroom can greatly enhance your overall experience. Start by considering space optimization strategies to make the most of your limited area.
Think about multi-functional furniture, like a compact vanity that doubles as storage. Seek design style inspiration from your favorite themes—whether rustic, modern, or bohemian.
Sketch your layout, ensuring you maintain easy access to essential features like the shower and toilet. Don’t forget to factor in lighting and ventilation, as these elements can profoundly impact your bathroom’s atmosphere.
With a solid plan, you’ll create a cozy retreat on wheels.
Demolition and Preparation
Before you start your camper bathroom remodel, it’s essential to remove the existing fixtures carefully.
Take a moment to assess the structural integrity of the walls and flooring to guarantee a solid foundation for your new design.
This prep work sets the stage for a successful transformation, so don’t skip it!
Remove Existing Fixtures
As you engage in your camper bathroom remodel, removing existing fixtures is an essential first step that sets the stage for your new design. Use appropriate removal techniques to safely detach sinks, toilets, and cabinets. Remember to turn off the water supply before starting. As you work, consider how you’ll handle fixture disposal; recycling may be an option for some materials.
| Fixture | Removal Technique |
|---|---|
| Sink | Unscrew and lift out |
| Toilet | Disconnect and lift |
| Vanity | Unscrew from the wall |
| Showerhead | Twist off with wrench |
| Mirror | Remove brackets or glue |
Assess Structural Integrity
Once you’ve removed the existing fixtures, it’s crucial to assess the structural integrity of your camper bathroom.
Start by checking for any signs of water damage, mold, or rot, as these can compromise structural stability. Tap the walls and floor to detect weak spots; a hollow sound may indicate issues.
Examine the materials used—ensure they’ve the necessary durability to withstand moisture and wear over time. If you find any damaged areas, address them immediately, whether it’s reinforcing supports or replacing materials.
Ensuring a solid foundation now will save you headaches down the road during your remodel.
Installing New Fixtures and Features
When you’re ready to enhance your camper bathroom, installing new fixtures and features plays an essential role in both functionality and aesthetics.
Start with the shower head; choose a modern, water-efficient model that provides a satisfying spray while conserving water.
Upgrade your shower head to a modern, water-efficient model for a refreshing spray that saves water.
Next, replace the sink faucet with a stylish, easy-to-use option that complements your overall design. Make sure to check compatibility with existing plumbing before purchasing.
Installation is usually straightforward, but don’t hesitate to consult your camper’s manual for guidance.
With these upgrades, you’ll create a more enjoyable and efficient bathroom experience on your adventures.
Adding Personal Touches and Decor
How can you transform your camper bathroom into a cozy retreat? Start by adding wall art that reflects your personality and travel memories.
Choose lightweight pieces or removable decals to minimize damage and weight. Incorporate decorative accents like colorful towels, a stylish shower curtain, or a chic rug to create warmth and comfort.
Don’t forget plants or succulents to bring a touch of nature indoors. Use storage baskets for organization while adding visual appeal.
These personal touches will make your camper bathroom inviting and uniquely yours, turning an ordinary space into a delightful escape wherever your travels take you.
Final Inspection and Maintenance Tips
Before hitting the road, it’s essential to conduct a thorough final inspection of your newly remodeled camper bathroom to confirm everything is in top shape.
Use a final checklist to verify that all fixtures are secure, plumbing is leak-free, and electrical connections work properly. Check for any signs of mold or mildew, especially in damp areas.
Once everything’s confirmed, create a maintenance schedule to keep your bathroom in prime condition. Regularly inspect seals, clean surfaces, and test water systems to prevent future issues.
With these steps, you’ll confirm your camper bathroom remains a comfortable space on all your adventures.
Conclusion
To sum up, a DIY camper bathroom remodel can transform your space into a functional and stylish retreat. By carefully evaluating your needs, sticking to your budget, and choosing the right materials, you’ll create a bathroom that meets your lifestyle. Don’t forget to put your personal touch on the design and regularly maintain your upgrades for long-lasting enjoyment. Get started today, and enjoy the satisfaction of crafting a cozy bathroom that enhances your camping experience!