Remodeling your kitchen is one of the most rewarding investments you can make in your home. It not only enhances functionality and aesthetics but also adds significant value. However, without a well-structured plan, the process can become overwhelming and expensive. That’s why having a detailed kitchen remodel checklist is essential. This guide will walk you through every stage of planning, designing, budgeting, and executing the perfect kitchen renovation.
Why You Need a Kitchen Remodel Checklist
A kitchen remodel involves multiple moving parts—design decisions, contractor coordination, appliance upgrades, plumbing, and more. A checklist ensures that nothing falls through the cracks. With the right roadmap, you can:
- Stay on budget
- Avoid delays
- Select the right materials
- Achieve your design goals
- Improve kitchen functionality
Kitchen Remodel Checklist: Step-by-Step Breakdown
1. Set Your Kitchen Remodel Goals
Begin by identifying the reasons for your kitchen remodel. Are you aiming for more storage, updated appliances, an open floor plan, or a more modern aesthetic?
Key questions to consider:
- What is currently not working in your kitchen?
- How do you want your kitchen to function?
- What styles or layouts do you prefer?
2. Establish a Realistic Budget
Setting a clear and realistic budget is crucial. Include all aspects such as:
- Materials and finishes
- Appliances
- Labor and contractor fees
- Permits
- Unexpected expenses (set aside 10–20% contingency)
Tip: Decide early where you’re willing to splurge (e.g., countertops) and where you can save (e.g., cabinet hardware).
3. Measure Your Space
Accurate measurements are the foundation of a successful remodel. Measure:
- Floor dimensions
- Wall length and height
- Window and door placements
- Plumbing and electrical outlets
This data will be critical for designing and ordering materials.
4. Choose a Layout
The kitchen layout impacts both flow and functionality. Popular layout options include:
- L-Shaped: Efficient for small to medium spaces
- U-Shaped: Great for maximizing counter space
- Galley: Ideal for smaller kitchens with limited width
- Island or Peninsula: Adds workspace and informal seating
Ensure the design follows the kitchen work triangle: stove, sink, and refrigerator should be in close proximity for efficiency.
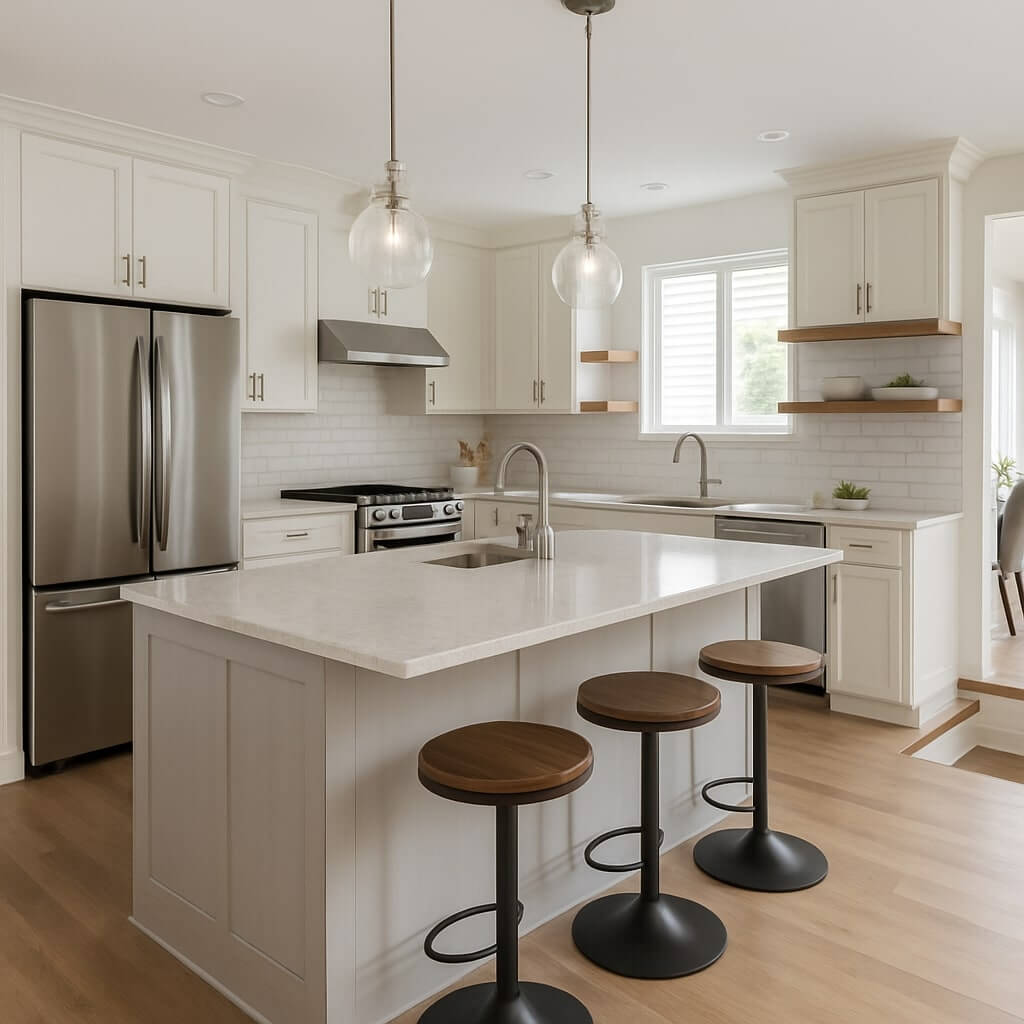
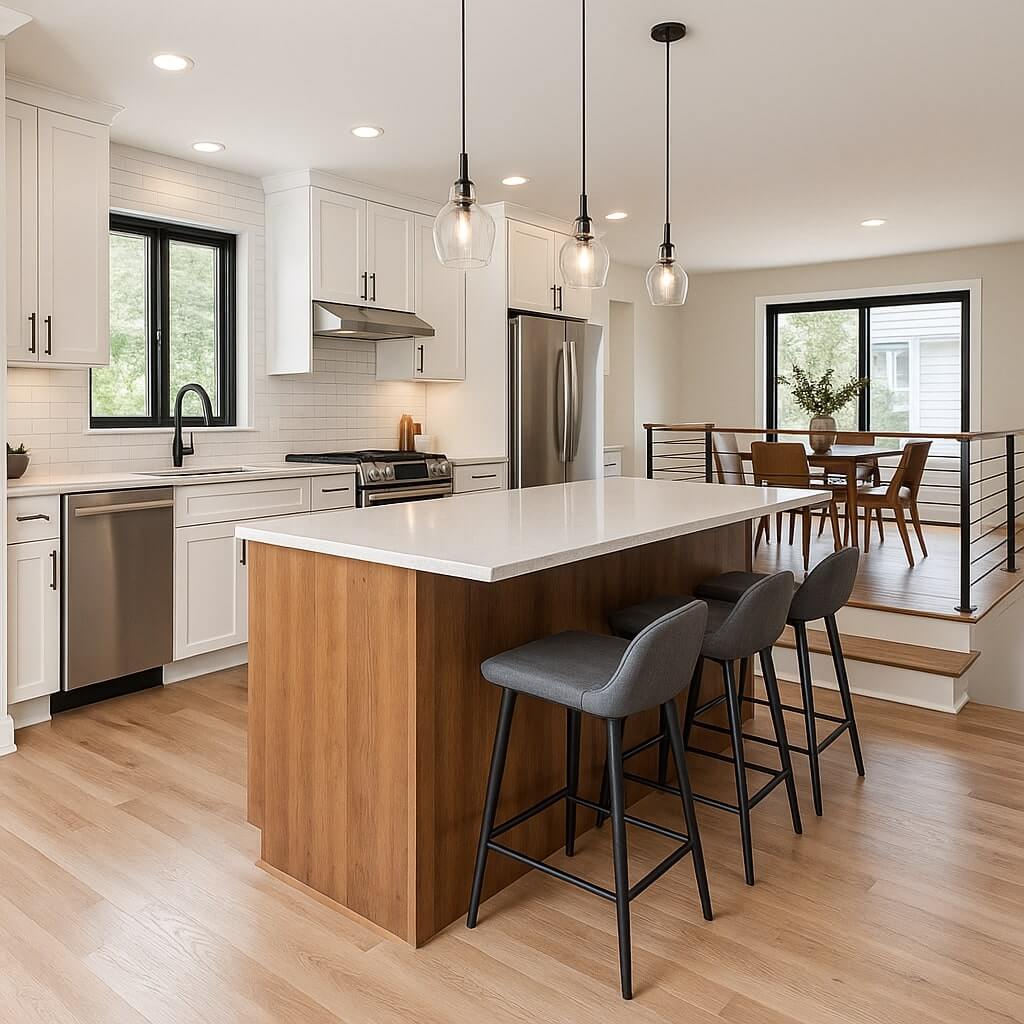
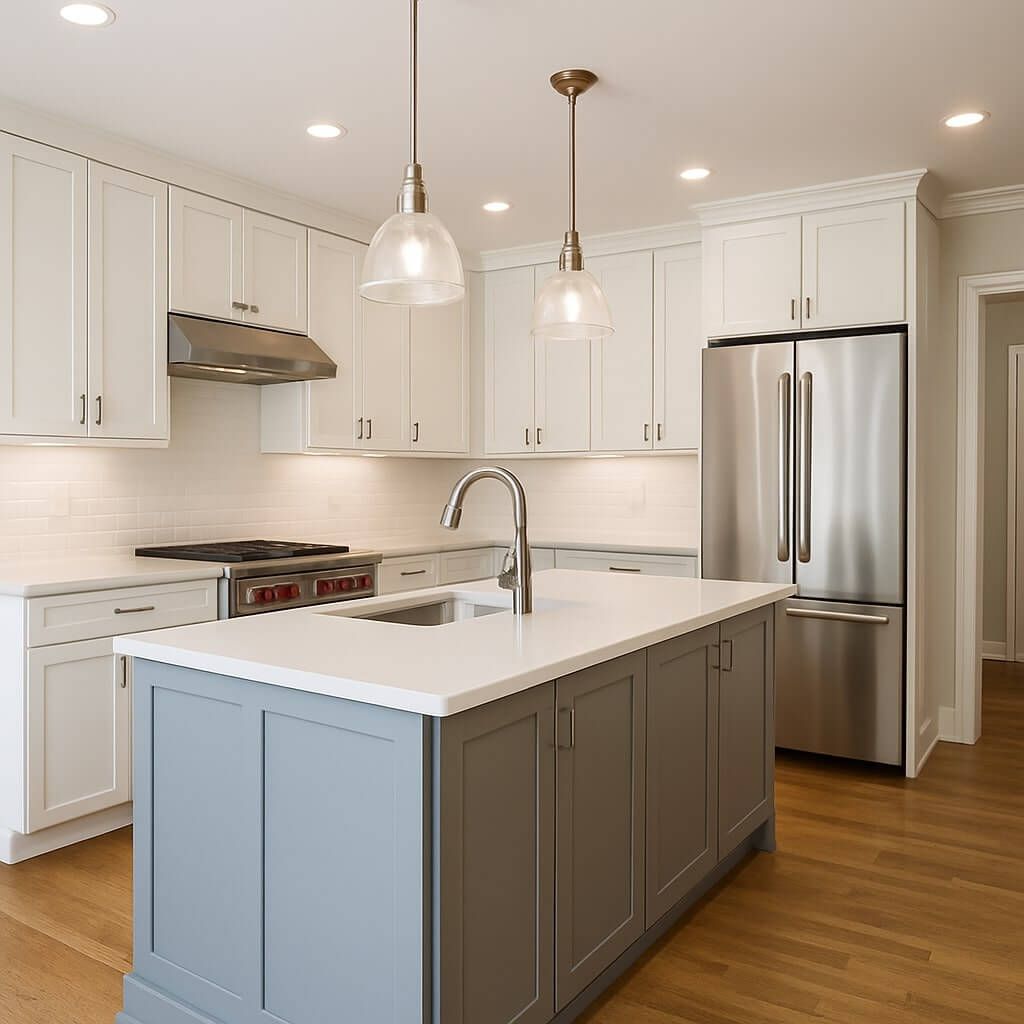
5. Select Materials and Finishes
Choose your materials with both durability and design in mind. Common selections include:
- Cabinetry: Solid wood, MDF, or thermofoil
- Countertops: Quartz, granite, butcher block, laminate
- Flooring: Hardwood, tile, vinyl plank
- Backsplash: Subway tile, mosaic, natural stone
- Lighting Fixtures: Task, ambient, and accent lighting
6. Pick Your Appliances
Modern appliances improve both form and function. Determine if you’ll keep existing appliances or upgrade to:
- Energy-efficient models
- Built-in ovens or microwaves
- Smart refrigerators
- Induction or gas cooktops
Make sure appliance dimensions align with your design plans.
7. Hire the Right Professionals
Unless you’re doing a DIY remodel, you’ll need to hire professionals such as:
- General contractor
- Kitchen designer
- Electrician
- Plumber
- Cabinet installers
Tip: Get multiple estimates, check credentials, and ask for references before hiring.
8. Obtain Necessary Permits
Your municipality may require permits for structural, plumbing, or electrical changes. Consult with your contractor to ensure all paperwork is in order before construction begins.
9. Create a Timeline
Work with your contractor to establish a realistic renovation timeline. Include phases such as:
- Demolition
- Structural work
- Plumbing/electrical rough-ins
- Installation of cabinets and countertops
- Painting and finishing
Expect delays and build flexibility into your schedule.
10. Plan for Temporary Kitchen Setup
During construction, your kitchen may be out of service. Set up a temporary space with:
- Microwave or toaster oven
- Mini fridge
- Disposable utensils and plates
- Prep area with a small table or counter
11. Execute the Remodel
Once everything is in place, it’s time to begin the remodel. Stay involved by:
- Communicating regularly with your contractor
- Visiting the site often
- Keeping track of progress and expenses
12. Final Walkthrough and Inspection
Before signing off, conduct a thorough walkthrough:
- Check all finishes and fixtures
- Test all appliances
- Ensure cabinets and drawers open and close smoothly
- Look for scratches or damage
- Confirm that permits were closed
Bonus: Design Inspiration Tips
- Use light colors to make small kitchens feel larger
- Add open shelving for a modern look
- Mix materials like wood and metal for texture
- Install under-cabinet lighting for ambiance and task efficiency
Frequently Asked Questions (FAQs)
Kitchen remodels can range from $10,000 to $50,000 or more, depending on the size, materials, and scope. Allocate funds wisely and keep a contingency buffer.
A standard remodel takes 6 to 12 weeks, but larger or custom projects can take 3–6 months depending on complexity, contractor availability, and material delivery.
Cabinetry and labor often take up the largest portions of the budget. Custom cabinets and premium countertops can significantly raise costs.
Yes, but it can be inconvenient. Many homeowners set up a temporary kitchen space and adjust routines until the project is completed.
A designer can help you maximize space, stay on budget, and achieve a cohesive look. It’s especially helpful for complex layouts or custom features.
Yes, if your remodel includes structural, plumbing, or electrical work. Permits ensure your project complies with local building codes.
Final Thoughts
A successful kitchen renovation is all about preparation. With this ultimate kitchen remodel checklist, you’re equipped to handle the planning, execution, and completion stages with confidence. From budgeting and measurements to final inspections, staying organized ensures you end up with a kitchen that’s both beautiful and functional.